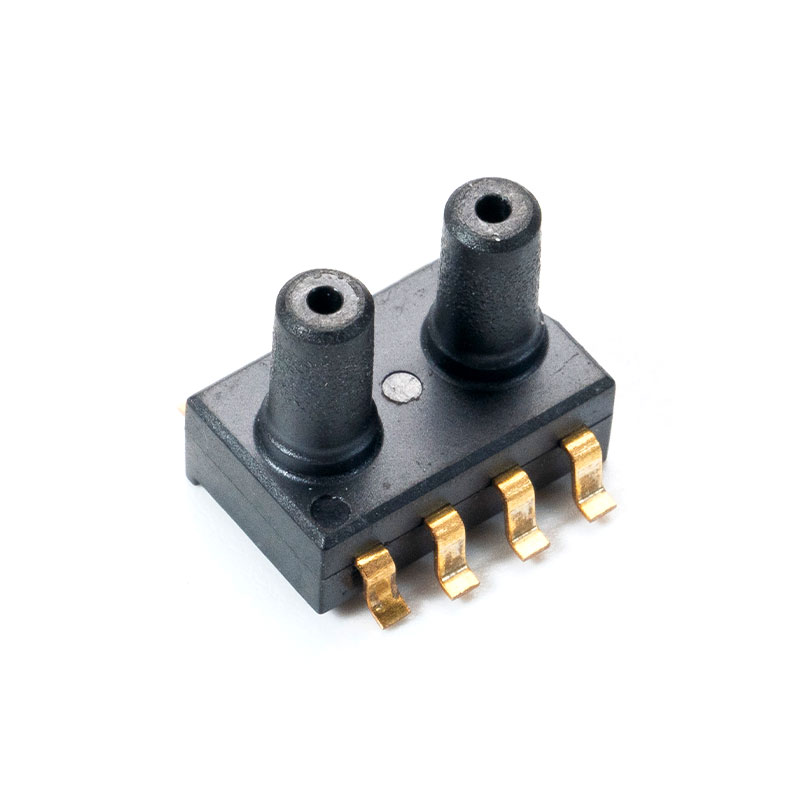
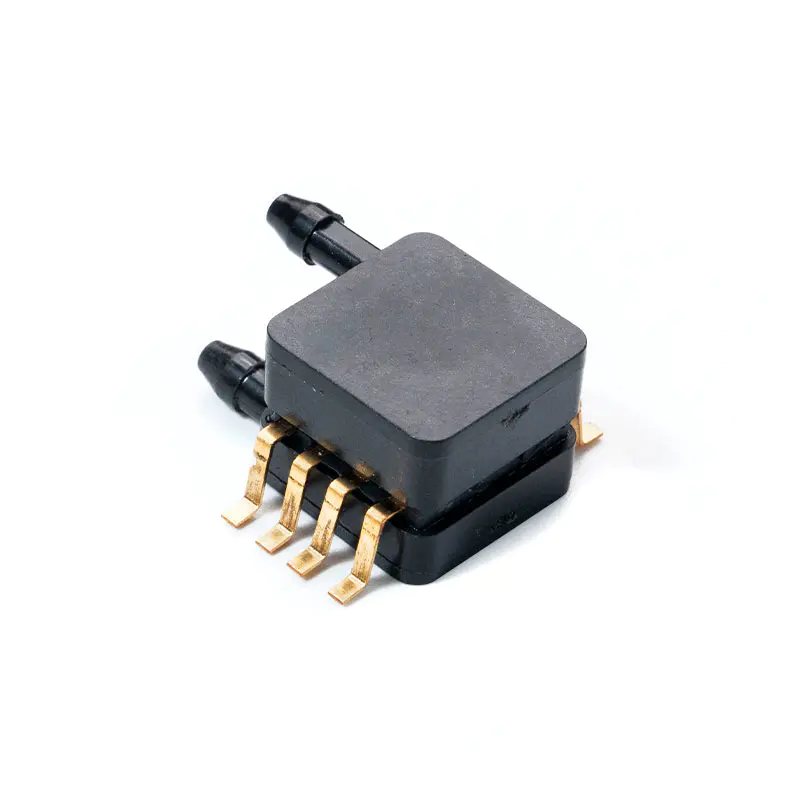
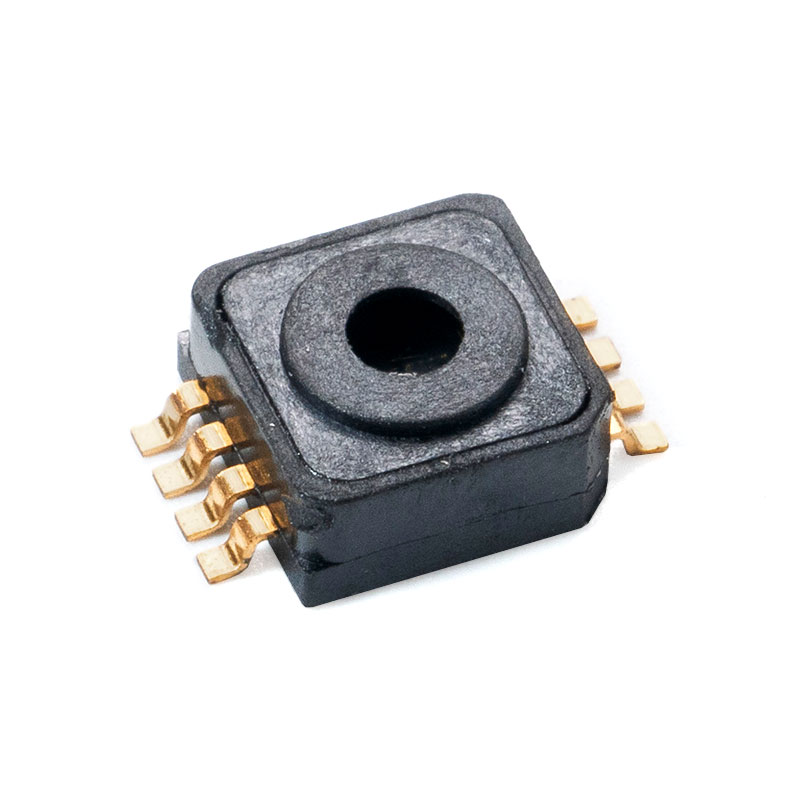
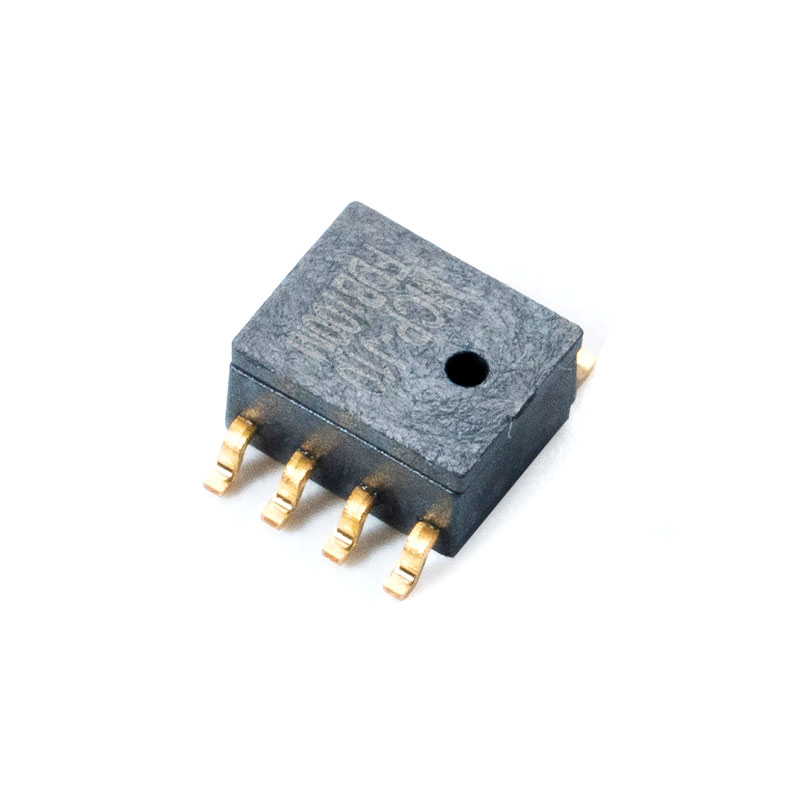
How to Calibrate an MCP Pressure Sensor? [A Step-by-Step Guide]
Date:2025-11-19
Content
- 1 Why Calibration is Critical for MCP Sensor Accuracy & Longevity
- 2 What You'll Need for MCP Pressure Sensor Calibration
- 3 The Step-by-Step MCP Pressure Sensor Calibration Procedure
- 4 Troubleshooting Common MCP Calibration Issues
- 5 MCP Sensor Technology vs. Alternatives in Calibration
- 6 Professional Calibration Services vs. DIY
- 7 FAQ
Ensuring the accuracy of your MCP pressure sensor is not just a recommendation—it's a critical requirement for system integrity, product quality, and safety. Over time, factors like mechanical stress, temperature extremes, and material aging can cause sensor drift, leading to costly errors. This comprehensive guide provides a professional, step-by-step walkthrough for calibrating your MCP pressure sensor, empowering you to maintain peak performance and data reliability.
Why Calibration is Critical for MCP Sensor Accuracy & Longevity
Calibration is the process of comparing a sensor's output to a known reference standard to identify and correct any deviations. For micro-electromechanical systems (MEMS) like the MCP pressure sensor, this is paramount. Regular calibration directly compensates for signal drift, ensuring that the voltage or digital output accurately represents the applied pressure. The consequences of neglecting this can be severe, ranging from minor process inefficiencies to catastrophic system failures in critical applications like medical ventilators or automotive braking systems. Furthermore, a well-documented calibration schedule is often a mandatory part of quality assurance protocols like ISO 9001.
What You'll Need for MCP Pressure Sensor Calibration
Before beginning the calibration process, gathering the right equipment is essential for obtaining valid and repeatable results. Using a certified reference standard is non-negotiable for professional-grade calibration.
Essential Calibration Equipment
The following tools form the core of your calibration workstation:
- Reference Pressure Standard: This is your ground truth. A high-accuracy deadweight tester is the gold standard, but a calibrated digital pressure controller/calibrator is also acceptable for most industrial applications.
- Stable Power Supply: To provide the exact excitation voltage (e.g., 5.0 VDC or 10.0 VDC) required by the MCP pressure sensor datasheet.
- High-Precision Digital Multimeter (DMM): For accurately measuring the sensor's millivolt (mV) or voltage output signal with a resolution greater than the required calibration accuracy.
- Data Acquisition System (Optional): Useful for logging data over time during stability tests and for automating multi-point checks.
Required Tools & Environment
- Basic hand tools (screwdrivers, wrenches) for making connections.
- A clean, stable, and temperature-controlled environment to minimize the influence of external variables on the calibration results.
The Step-by-Step MCP Pressure Sensor Calibration Procedure
This procedure outlines the classic two-point (zero and span) calibration method, which is sufficient for many applications. For the highest accuracy, a multi-point calibration should be performed.
Step 1: Pre-Calibration Setup and Safety Checks
Begin by powering down the system where the sensor is installed. Physically isolate the sensor if necessary. Conduct a thorough visual inspection for any signs of physical damage, corrosion, or media contamination. Ensuring the sensor is clean and undamaged is a prerequisite for a successful calibration.
Step 2: Connecting to the Calibration System
Connect the MCP pressure sensor to your calibration setup. The reference pressure source is connected to the sensor's pressure port. The power supply is connected to the excitation pins, and the DMM is connected to the output pins, observing correct polarity. Double-check all connections to prevent errors or damage.
Step 3: Applying Zero Pressure and Setting the Offset
With the sensor powered on and allowed to thermally stabilize, ensure the pressure port is open to atmospheric pressure (zero applied pressure). Record the output voltage measured by the DMM. Compare this reading to the ideal zero-scale output (e.g., 0.5V for a 0.5-4.5V output sensor). If your sensor has a zero trim potentiometer, adjust it until the output matches the ideal value.
Step 4: Applying Full-Scale Pressure and Setting the Span
Carefully apply the full-scale rated pressure from your reference standard to the sensor. Allow the reading to stabilize, a step that is especially critical when calibrating a high accuracy MCP pressure sensor. Record the output voltage. If the sensor has a span trim potentiometer, adjust it until the output matches the ideal full-scale value (e.g., 4.5V). Note that adjusting the span may slightly affect the zero point, so you may need to iterate between steps 3 and 4 once.
Step 5: Verifying Linearity (Multi-Point Check)
A proper calibration verification involves checking points between zero and full scale. After setting zero and span, apply pressures at 25%, 50%, and 75% of the full scale. Record the output at each point without further adjustment. This data will allow you to calculate the sensor's linearity error and confirm it is within the specifications listed on the datasheet.
Troubleshooting Common MCP Calibration Issues
Even with a careful procedure, issues can arise. Here's how to diagnose common problems.
Drifting Readings
If the output signal is unstable and drifts over time with a constant pressure applied, the cause could be temperature fluctuations, a contaminated sensor diaphragm, or an unstable power supply. Ensure environmental stability and check your power supply's specifications.
Non-Linear Output
If the sensor's output deviates significantly from a straight line between zero and span, it indicates a linearity issue. This is often inherent to the sensor and cannot be corrected with simple zero and span adjustments. In such cases, the application of software-based correction factors or sensor replacement may be necessary.
No Signal Output
If there is no output signal, first verify the power supply connections and voltage. Check for broken wires or poor electrical connections. If the hardware seems intact, the sensor's internal MEMS chip or ASIC may have suffered an irreversible failure.
MCP Sensor Technology vs. Alternatives in Calibration
Understanding the technology behind your sensor clarifies the calibration process. A frequent point of comparison is the MCP pressure sensor vs piezoresistive sensor. While both are MEMS-based and use piezoresistive strain gauges, the key differentiator is the signal conditioning.
- MCP Sensors typically incorporate a custom Application-Specific Integrated Circuit (ASIC) that provides amplified, temperature-compensated, and calibrated analog or digital outputs. This makes them easier to interface with but means calibration often adjusts the conditioning circuit's reference points.
- Basic Piezoresistive Sensors often provide a raw, unamplified mV output. They are more susceptible to temperature drift and require more complex external signal conditioning, which in turn requires a more meticulous calibration process that accounts for both offset and temperature coefficients.
The following table summarizes the key differences relevant to the calibration workflow:
| Feature | MCP Pressure Sensor | Basic Piezoresistive Sensor |
| Output Signal | Amplified, conditioned (e.g., 0.5-4.5V) | Low-level, unamplified (mV) |
| Temperature Compensation | Integrated via ASIC | Requires external circuitry |
| Calibration Focus | Adjusting zero & span of conditioned output | Compensating for offset, span, and temperature drift |
| Ease of Use | High | Lower, more complex |
Professional Calibration Services vs. DIY
While a DIY calibration is feasible for many, there are scenarios where professional services are the only viable option. Companies like AccuSense Technologies provide accredited calibration services that are traceable to national standards (NIST).
- Choose DIY if: Your accuracy requirements are not extreme, you have the proper equipment, and your processes do not require formal accreditation.
- Choose Professional Service if: You require ISO/IEC 17025 accredited calibration for quality audits, you are calibrating a high accuracy MCP pressure sensor beyond the capabilities of your lab, or you need to characterize performance over a wide temperature range.
FAQ
What is the typical lifespan of an MCP pressure sensor?
The lifespan of an MCP pressure sensor is highly dependent on its operating conditions. In a clean, stable environment within its specified ratings, it can last for decades. However, exposure to over-pressure events, pressure cycles, extreme temperatures, and corrosive media will significantly reduce its operational life. Regular calibration can help monitor sensor health and predict end-of-life through increasing drift rates.
Can I use an MCP pressure sensor with an Arduino or Raspberry Pi?
Absolutely. Many MCP pressure sensor variants, especially those with a ratiometric analog or digital output like I2C, are perfectly suited for integration with microcontrollers. For analog sensors, you would use the Arduino's analog-to-digital converter (ADC). A common search query like digital output MCP pressure sensor arduino will yield numerous tutorials and code examples for specific models, making the integration process very accessible for prototyping and maker projects.
How does temperature affect MCP pressure sensor calibration?
Temperature is the most significant environmental factor affecting sensor performance. It causes a shift in the zero point (Zero Temperature Shift) and a change in the sensitivity (Span Temperature Shift). High-quality MCP pressure sensor units have internal temperature compensation networks (ASIC) that minimize this effect over a specified range. For applications with wide temperature swings, it may be necessary to calibrate the sensor at multiple temperatures to create a full temperature compensation model.
What is the difference between gauge, absolute, and differential MCP pressure sensors?
This refers to the reference pressure used by the sensor. A Gauge sensor measures pressure relative to atmospheric pressure. An Absolute sensor measures pressure relative to a perfect vacuum. A Differential sensor measures the difference between two applied pressures. It is critical to select the correct type for your application, as this is a fundamental design factor of the MCP pressure sensor and cannot be changed. Using a gauge sensor for an absolute pressure application will yield incorrect readings.
Recommended Articles


 English
 Français
 中文简体
中文简体


